Wally's EZ Permanent House Trim
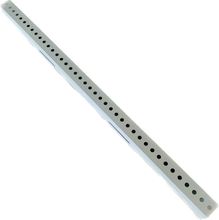
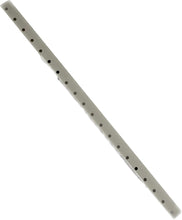
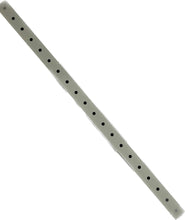
The EZ pixel trim mounting system is an easy to use aluminum channel with holes pre punched for you to mount your 12mm pixels. Each trim length measures to be 40" in length. For 2" spaced mounting there are 20 holes (5 trim pieces will need 100 pixels). For 1" spaced holes you'll need 40 pixels (5 trim pieces will use 200 pixels). Different mounting configurations are available. Currently we have 1" and 2" available in both side mount and bottom mounts. All of our track comes in slightly off white but can easily be painted to whatever color to match your house.
How do you mount EZ Pixel Trim to your house?
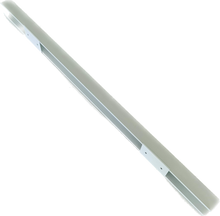
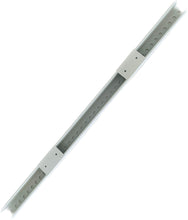
2 Mounting brackets are included on each section of trim. These brackets are mounted permanently to your soffit of your house by a screw and washer through the screw hole on the bracket. After pushing your pixels into the U channel Trip piece you can then mount it to the bracket. To mount the U channel to these brackets you simply squeeze the U channel together and then push it into the bracket. If you'd like to paint your trim pieces you'll need to do proper preparation by sanding the trim and then wiping them down with acetone to remove any residue that may be leftover from manufacturing. We recommend using a primer and paint for metal framing.
3D printed Accessories and STL files are available for the following items:
What else do you need to get your EZ pixel trim up and running?
Pixels (200 for 5 section of 1" or 100 for 5 sections of 2")
How do you setup the EZ Pixel Trim?
We like to start use the xlights software. There are many ways to achieve the same result but here is our normal flow.
- Import a picture of your house to your layout tab that you will be mounting these to.
- Plan where your controller will be mounted and where all of the "start" end of the trims will be.
- Use the single line tool and draw the lights onto your house. First click would be the "start" of that line.
- Name each section for easy reference during setup.
- Enter the amount of lights on each section (ex: if you are mounting 5 pieces of 2" trim to a section of your house you would enter 100)
- Do this to all sections where you will add your EZ Pixel trim.
- Go to the controller tab and add your WB1616 Controller.
- Click Visualizer at the bottom right of the screen.
- Add your sections to the ports you'll be using on the WB1616.
- Upload inputs & outputs to the controller.
- Now you can control your lights through FPP with the web interface or with xlights.
What are the Dimension of the EZ Trim?

What is the difference in side or bottom hole location?
Hole locations are either on the side or on the bottom of the trim. In reference to the picture above the location is determined by the trim looking like a U. With the open end being up the side hole location would be on the vertical side of the trim.
Bottom hole location means the holes are on the opposite side of the open side of the U.


